Hola!
Today post is all about the brows. I mean the “brows on fleek” phrase has definitely created a lot of buzz for the eyebrows and so i decided to pay them their due respect. I have been doing my brows myself at home for a year now after a terrible brow waxing incident at a salon. I do my brows once every two weeks, not because they grow back slow but because I’m too lazy to actually spend a half hour each weekend.
Alright so I’m going to try and narrow down my routine to 5 steps that make it easy to follow.
5 steps to brows on fleek (follow with visual down below):

Step by step process to doing your eyebrows at home!
1. Pluck Stray hairs: This is the easier step because you don’t need to worry about precision here. Using your tweezer (or eyebrow plucking tool of choice) pluck around the brow to get rid of stray hairs. This includes the brow bone area, the “uni-brow area” and also don’t neglect the upper part of the brow. Tip: invest in good tweezers. Blunt tweezers can be a major pain when trying to tweeze the finer and smaller hairs.
2. Trim: Using a spooley/eyebrow comb, comb through the hairs and use a hair trimming pair of scissors to cut down the hairs that grow longer than the rest of the brows. These are the hairs that usually move all the time and make your brows unruly.
3. Fill in: Use your favorite eyebrow product to fill in the “bald spots” of your brows. Products can range from a cream based eyeliner product with an angled brush to an eyebrow powder. The best way to fill in your brows is to use a lighter hand when filling in the beginning of the brow and then use more pressure while filling the arch area. It’s almost like an ombré brow. Tip: use a shade of brow product that is a couple shades lighter than your natural eyebrow hairs. This keeps it natural. If you have black eyebrows like me, opt for a dark grey/dark brown eyebrow product.

Fill in ’em brows
4. Conceal (optional): Apply concealer using a flat brush on your brow bone and on the upper eyebrow skin? and blend it out to give a cleaner, crisper and more defined eyebrow look.

Conceal the brow bone
5. Intensify: This is for you guys that love your defined eyebrows. Use your angled eyeliner brush to clean up the edges of the brow so that they look solid and crisp. This is also the part where you should use a spooley/eyebrow comb and run it through the hairs to ensure they are looking natural and blended out. Tip; If you have unruly eyebrows use a wax or even a lip balm to keep the brow hairs in place.
And Ta-da, we are officially done! Of course with different eyebrow shapes, this procedure may differ slightly but in general these are pretty good solid set of steps to follow while doing your brows at home. Its cheaper and saves you the fuss of having to leave to the salon every week or so.

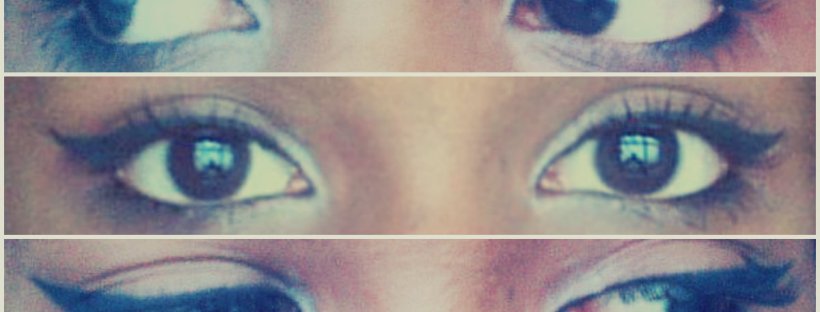
Somewhat decent pic of the brows. Ignore the background clutter aha
Okay, so that’s it for this post! I would really appreciate if you guys commented and let me know some ideas for more blogs cuz that will definitely keep me motivated and on track! If you found this helpful, make sure to like and share and of course follow if you haven’t already 🙂
Until next time,
Mayuri ♥